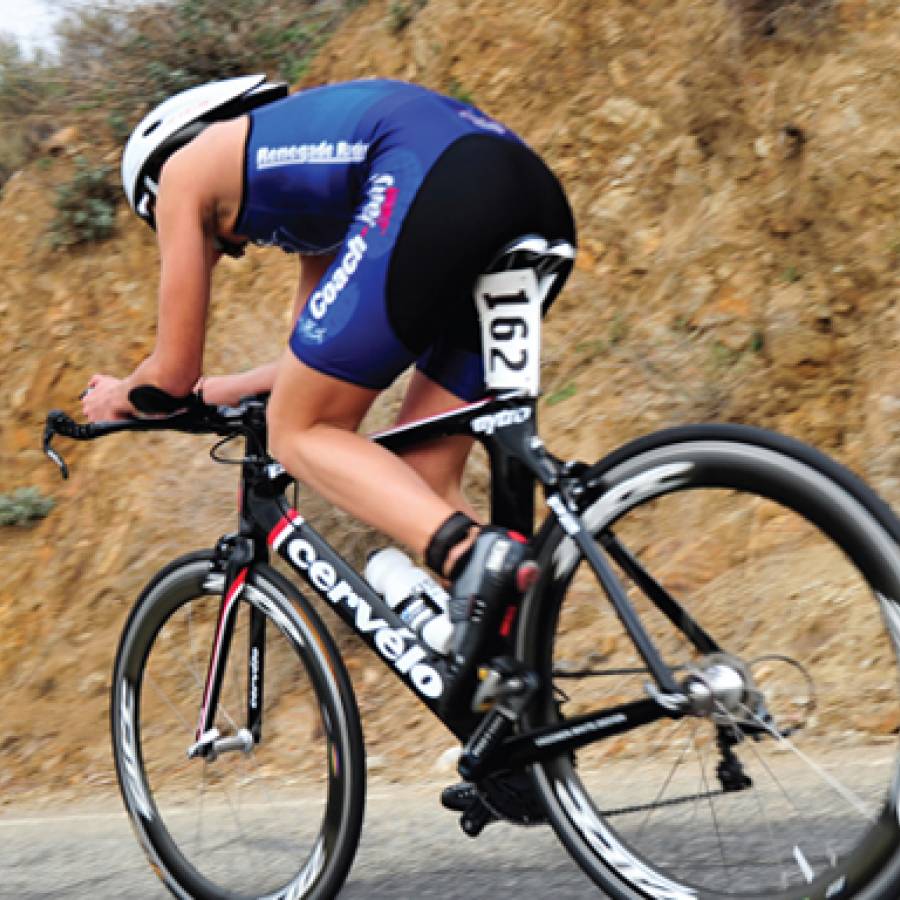
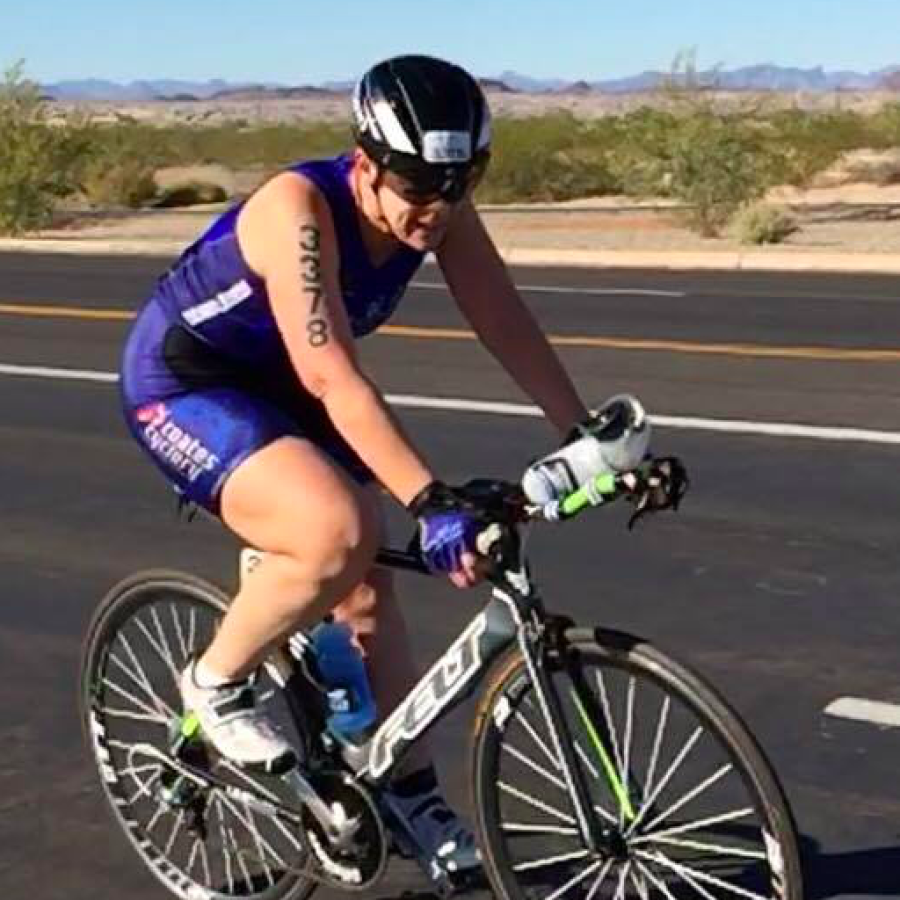
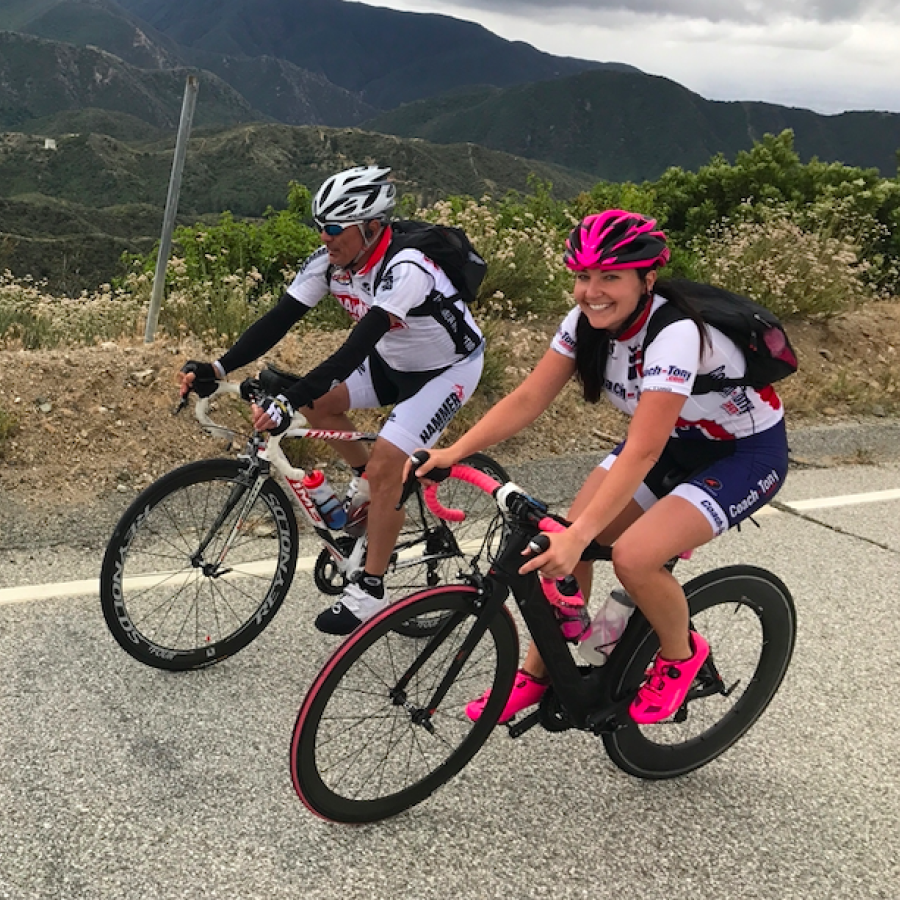
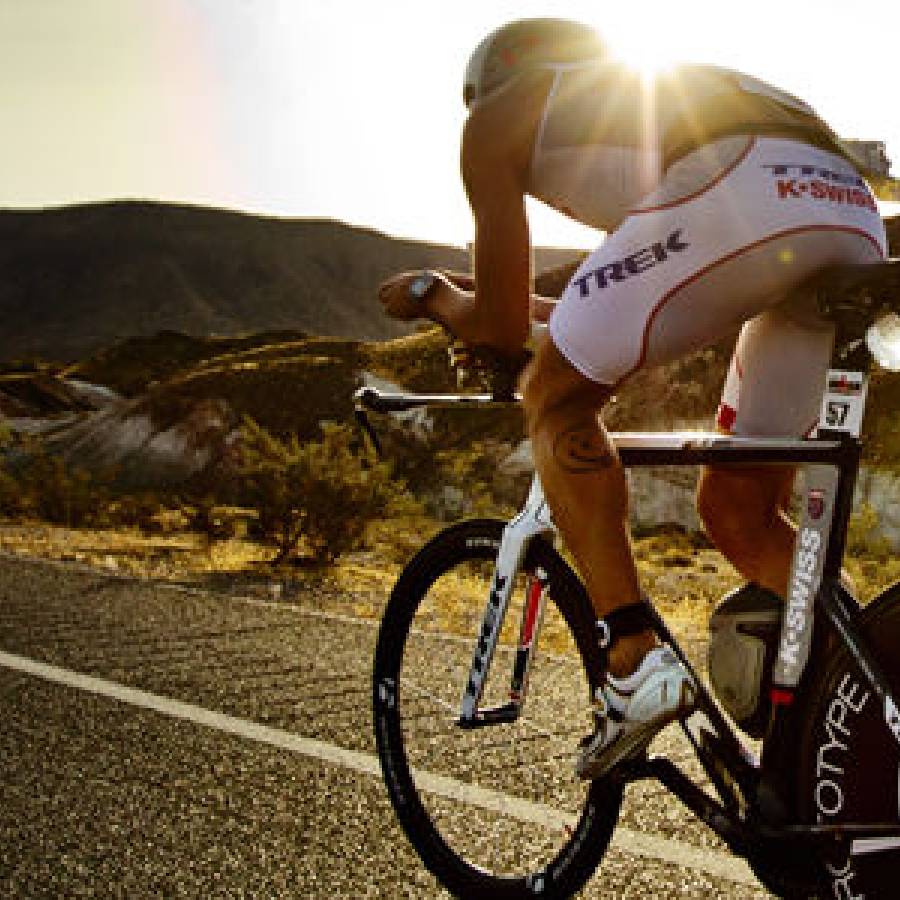
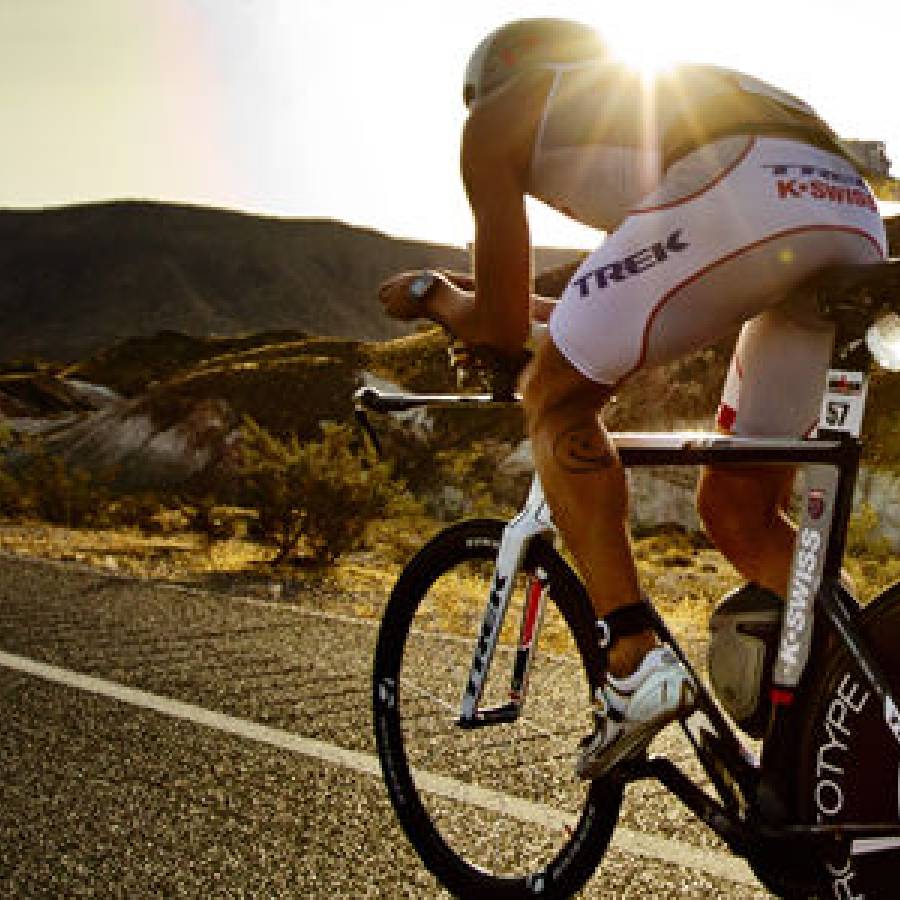
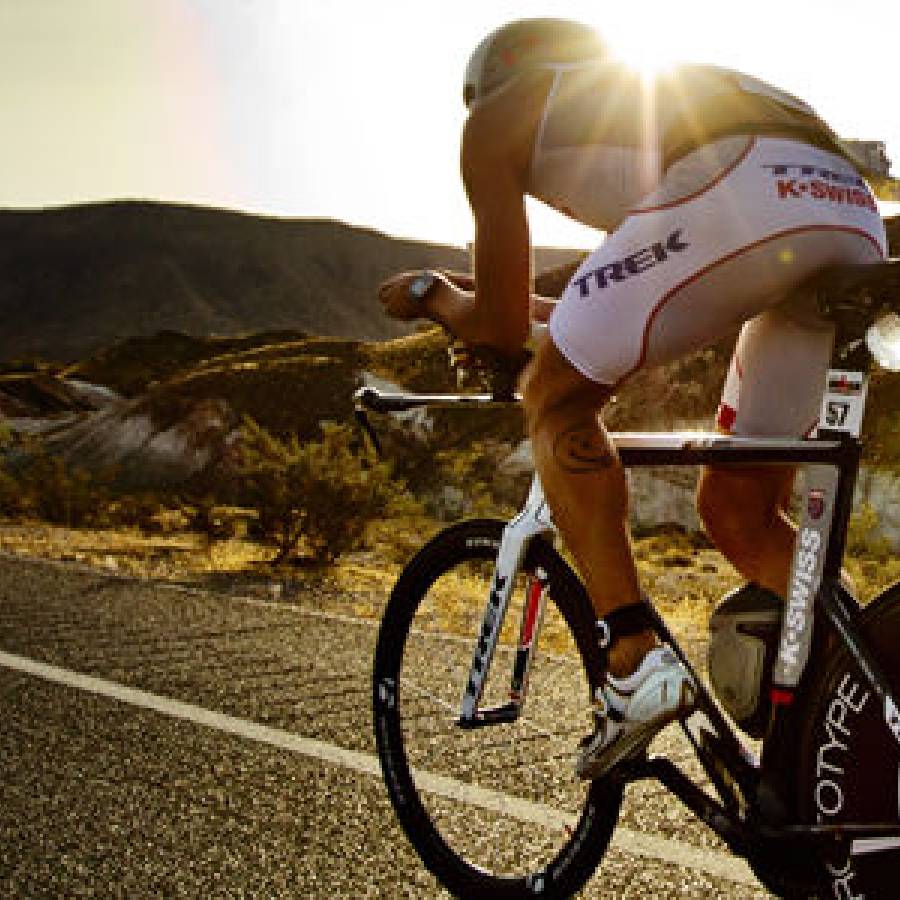
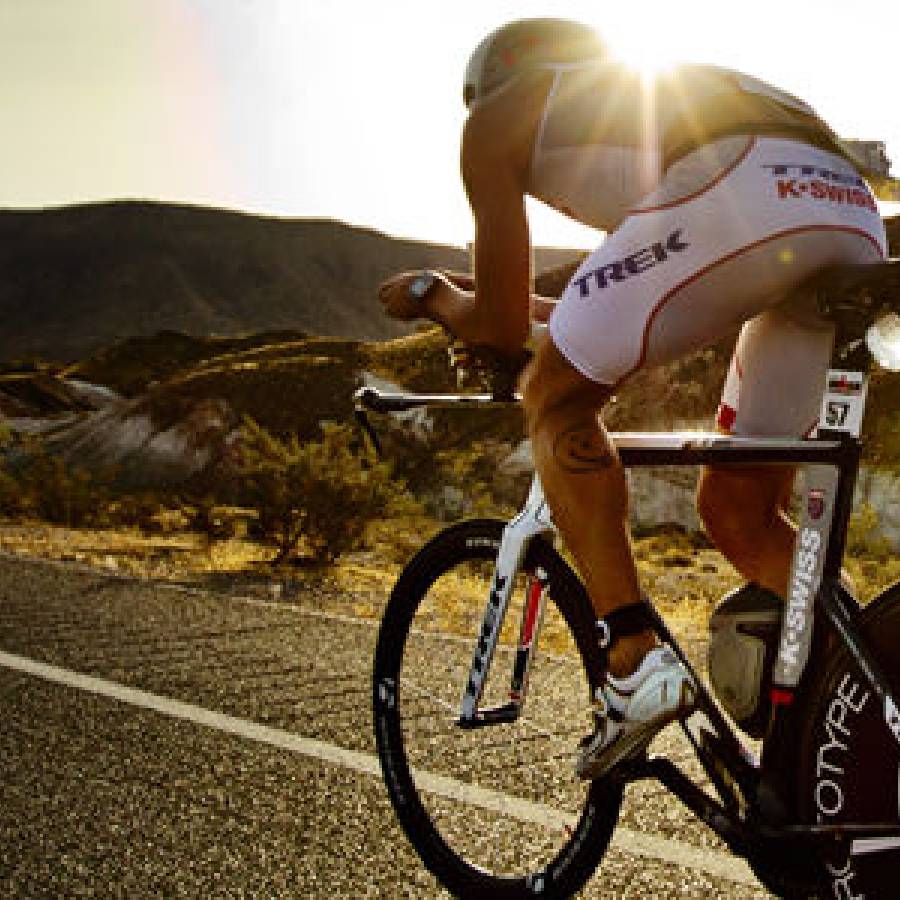
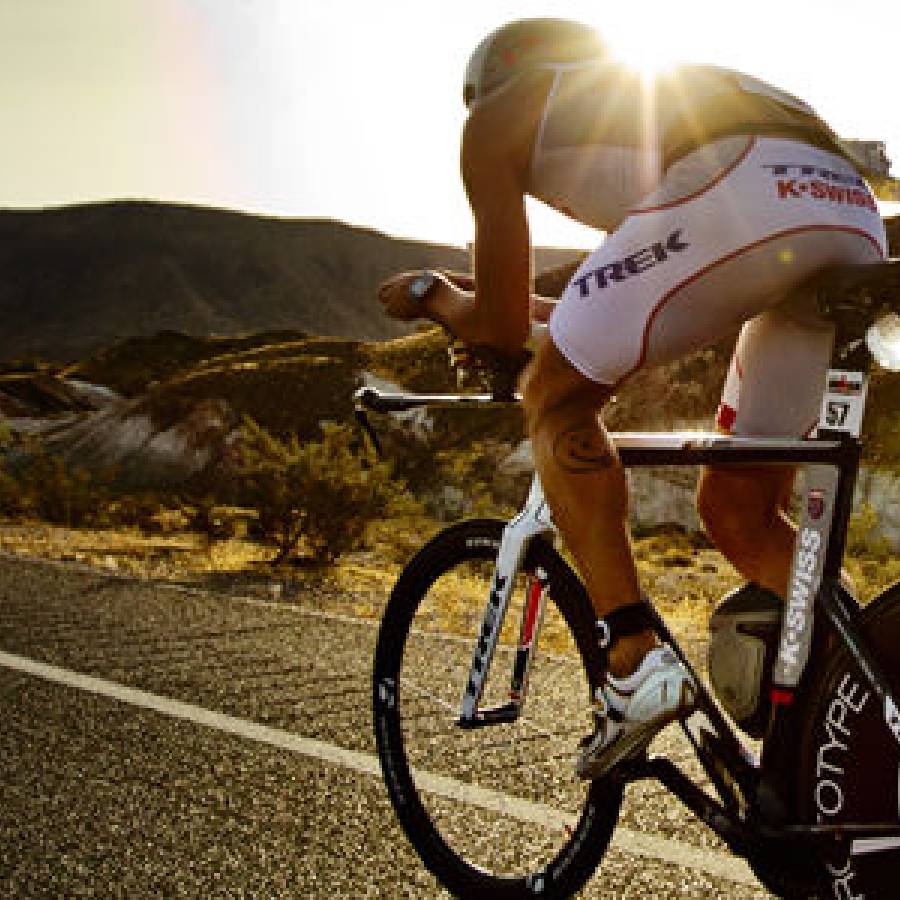
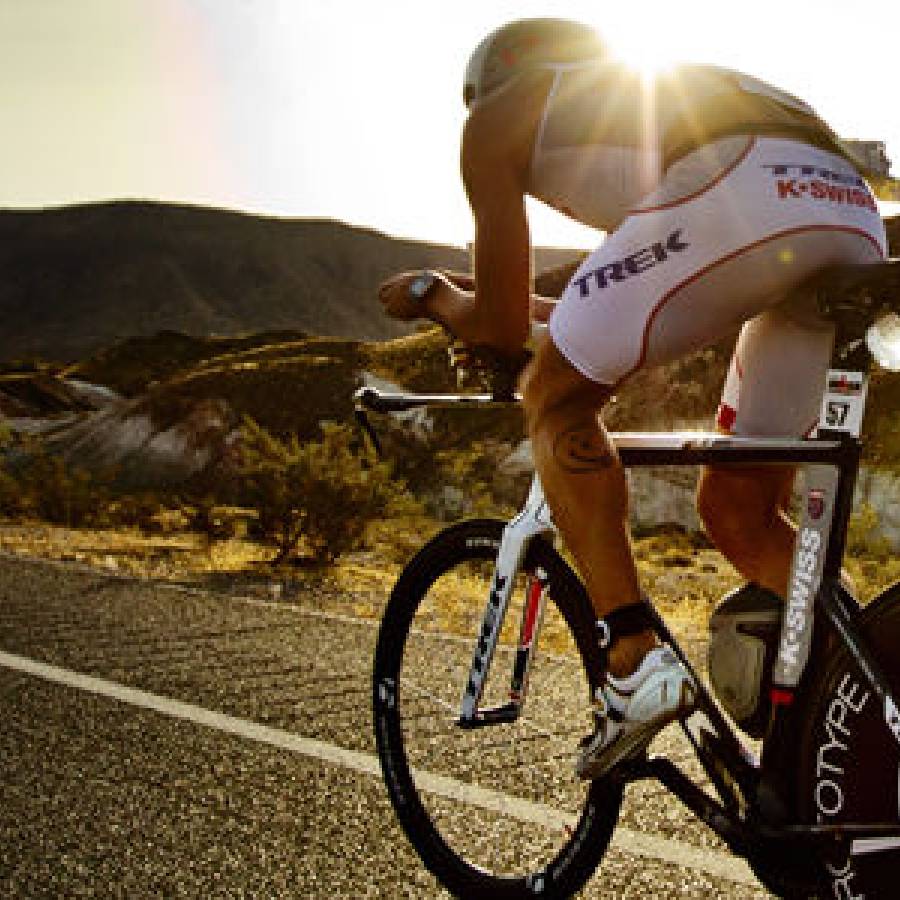
Over the course of my coaching career, I’ve grown into the habit of studying riders; good riders, bad riders, tall and short, all kinds of riders. If there is one common flaw I see in most riders, its poor pedal stroke. An efficient pedal stroke does not push down and then pull up, but rather has an oval-shaped motion. I found the following quote on line, which sums it up in just a few words. “Pedaling a bike is more than clipping in and letting the circular mechanics of the chain ring and crank arm do the work for you. Riders need to direct the motion of their feet.”
Proper pedaling mechanics produces a smooth pedaling stroke, which for many years was referred to as "pedal in circles." This term "pedal in circles" has been miss interpreted and incorrectly applied. It’s meant to communicate having good pedal stroke form. However, people take it literally and miss the point. This article is intended to help you understand good pedal stroke technique.
PREREQUISITS
Lets begin with prerequisites; bike size and bike fit.
Bike Size
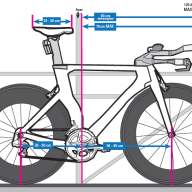
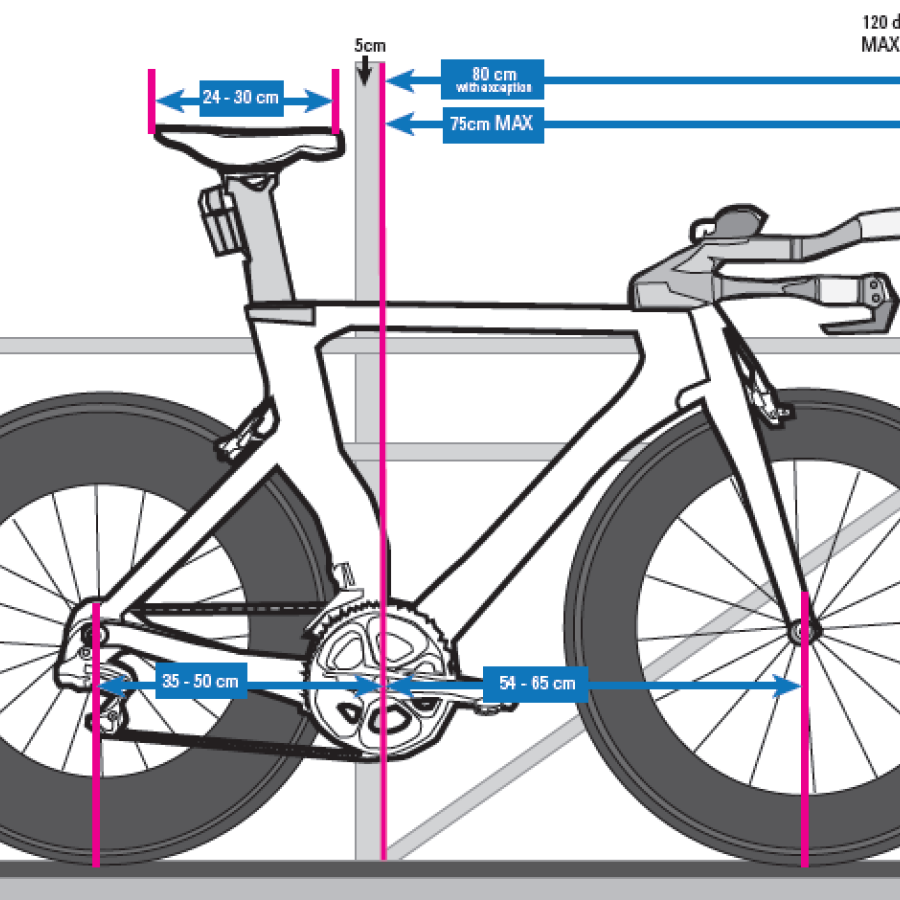
Two things you need to keep in mind when buying a bike are (1) retailers need to sell what’s in inventory and (2) retailers are, in most cases, not certified bike fitters. Be careful of buying a bike that is “almost your size.” Calculate your bike size using your inseam and the below steps or contact a local fitter before walking into the bike shop.
- Convert your inseam from inches to millimeters=Inseam*2.54
- Multiply the result by 0.67 to get you road bike frame size
- To get your triathlon bike size, subtract 1-2 mm
The farther away you are from your true bike size, the harder it is to properly fit the bike to your dimensions. Ride the bike before purchase to confirm and if they don’t have your size in stock, have them order it. If they say they can fit you to a different size bike walk away. And lastly and most important, ask for bike certification credentials and riding experience.
Bike Fit
Professional bike fit is absolutely essential before we can start talking about correct pedal stroke, efficiency, or power. A good bike fit will place you in the proper position to be comfortable, maximize power, and minimize chance of injury. It’s important to get a bike fit from someone who (1) is a certified bike fitter (2) fits often, (3) stays current with bike fitting technology, and (4) has riding or competition experience. Only a fitter who has all of these attributes can relate to your goals and fit the bike to your dimensions.
A proper bike fit, especially saddle height and fore-aft adjustment, is a prerequisite for a smooth pedal stroke. Without it, you won't be as efficient as you could be. If your saddle is too high, you'll rock back and forth which is a sign you’re reaching too far at the bottom of the pedal stroke and inviting hip injury. This also prohibits your ability to drive your foot effectively. If it's too low, you’re not maximizing the strength of your quadricep muscles and putting undue stress on your knees. In the right position (knee over the ball of your foot with the pedal at 3 o'clock and knee at 150 degrees at 6 o'clock), you'll maximize energy output and be able to adapt your ankle angle to different terrain, cadence and effort.
Other key bike fit factors that lead to an efficient pedal stroke include cleat placement, saddle tilt, and cockpit placement. All of these adjustments work in unison to reach comfort through proper joint angles that maximize power output. Comfort enables confidence, power, and endurance.
TECHNIQUE
A few disclaimers before we talk technique. First, most coaches will agree there are 4 “sectors” that make up one full revolution (360 degree) of a pedal stroke. "Sectors" refer to the four phases of the cycling pedal stroke. The overall goal is to develop a smooth, 360-degree stroke that feels the same pressure throughout; even though there are differences in power output during each phase. Opinions vary on where each sector begins and ends. The important thing to remember is that all 4 sectors (regardless of which opinion you favor) are all one contiguous motion without pause. Second, the recommendations stated in this article are for “in the saddle” riding. Muscle use changes when out of the saddle. These recommendations can also be used for triathlon riding but should note muscle use may vary slightly as your centered more forward on a triathlon bike or in arrow.
An untrained cyclist feels the most resistance when pressing down on the pedal and therefore relies only on that part of the pedal stroke to produce power. To illustrate how this feels, find a moderately inclined hill. As you begin the gentle ascent, note how the foot presses with more emphasis on the down-stroke than during any other section of the pedal stroke. Unfortunately, this poor form becomes habit with inexperienced riders.
While in the saddle, "pedal in circles" refers to the concept of applying pressure to the pedal throughout the entire 360 degree pedal stroke; easier said than done. The remainder of this article outlines a plan for you to improve your pedal stroke and help clarify the "pedal in circles" concept.
Looking at the pedal stroke in the form of a clock (12:00 at top, 6:00 bottom, 9:00 and 3:00 left and right respectively), most novice riders place most of the pressure on the pedal beginning at 2:00 or 3:00 and push down towards the ground though about 5:00 or 6:00. This produces a peak of power but only for about ¼ to 1/3 of the pedal stroke. Using this method, the remaining phases of the pedal stroke contributes no power. In fact, the foot on the up stroke is dead weight robbing power from the foot generating power. This type of pedal stroke results in toes pointed down and a high heel. Having your foot in a downward angle at the bottom of the pedal stroke prohibits it from contributing any power on the backside or upward parts of the pedal stroke.
Lets look at 2 things simultaneously. Lets review how to maximize power throughout the pedal stroke while understanding the muscle groups generating power. The hopeful result is that you will….
- Understand how to generate power throughout the pedal stroke
- Understand which muscles are generating the power
- Pedal more like a cross-country skier keeping your foot as horizontal as possible throughout the pedal stroke
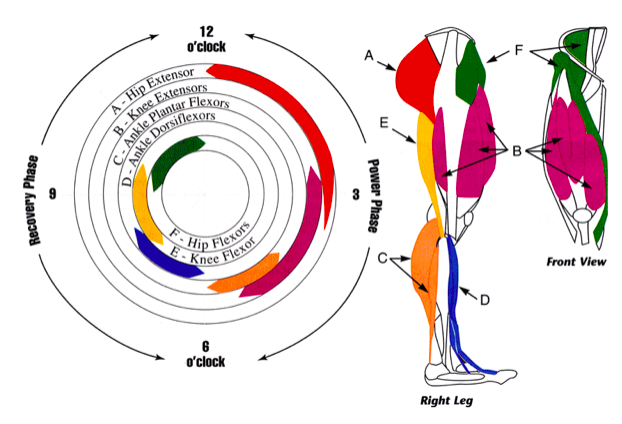 |
Use the graphic I found on the web. Credit to BikeTestReviews.com. It best represents what I’m about to explain.
Sector 1 - 12:00 to 3:00 – Push Phase Part 1
From about 12 o’clock to 3-4 o’clock is where you engage all of your pushing muscles; gluts, hip extensdors, quadriceps. Focus on pushing your foot forward in your shoe, touching your toes to the front of your shoe when you're at the top of the pedal stroke. Doing this correctly will help to drive the opposite foot backward helping to contribute power and eliminating its dead weight. To practice this, start out with easy gearing on a 1-2% incline road and ramp up resistance as your technique improves.
Sector 2 - 3:00 to 6:00 - Push Phase Part 2
The pushing phase is divided between the hip extensors (gluts) and the knee extensors (quadriceps). The Gluts are used from about 12 o’clock to about 3 o’clock and the quadriceps are in use from about 3 o’clock to almost 6 o’clock. The transition from 12:00 – 3:00 to 3:00 to 6:00 is smooth, not abrupt, with an overlap keeping your foot as horizontal as possible. Important to note these are not two separate movements. It is one continuous and fluid motion from 12:00 to 6:00 with a transition of muscle use from glut to quad. You should not have to drop your heal to pull your foot backwards. At 6:00 you foot should be somewhat level and in a position to pull back. Transitioning to a new pedal stroke takes time. You are learning new habits and sheading old. Because you’re engaging muscles in a different way, don’t be surprised if you experience initial muscle soreness.
Sector 3 - 6:00 to 9:00 scrape your foot backward
This is the part where many people get hung up because they focus on trying to do two separate motions at once; push forward and pull back. Instead of trying to focus on both, focus on the push. The nice thing about clip less pedals is that you are attached to the bike and as one foot drives forward, the other will be driven backward automatically. As you master the “push” your opposite foot will grow use to the pull back and without thought you’ll begin to push and pull back. This part of the pedal stroke has often been explained as “pulling your foot back as if you were scraping something off the bottom of your shoe.”
Sector 4 - 9:00 to 12:00 Set Up
Think of the set up as placing your foot in he proper angle to begin the “push. The easiest way to learn Set Up is by lifting your knee and your shoe specifically where its attached to your pedal; the cleat. You will get assistance from your hip flexors. The mistake too may riders make is they lift their foot ankle first. Why is this a mistake? Lifting your foot heal first increases the downward angle of your foot at the top of the pedal stroke. Having your foot in a downward angle when you reach 12:00 reduces or eliminates your leverage to push forward. Lifting your knee and cleat will help keep your foot remain horizontal and “set up” the “push.”
Think and Ride 360 The entire 360 pedal stroke is one contiguous motion. Analogues to the perfect swim stroke, every step in the swim stroke, if performed correctly, set up the next step. Compromising one step compromises the next. I don’t like the term “pedal in circles.” I prefer to use the term “pedal in ovals” because it better represents your foot motion or to pedal stroke; long across the top and bottom, short front and back.
DRILLS
Talented riders make cycling look easy. It looks easy because they practice. Whether it’s a drill specific workout or secretly doing it as part of a group ride, they are practicing good pedal form all the time. The smoother you propel the drivetrain, the more relaxed and stable your upper body becomes. The more motion there is in your upper body (head bobble, shoulder sway, or torso swing,), the less efficient you pedal. Efficient pedaling is a habit that needs to be learned and practiced. Here are some ideas to help improve your pedal stroke.
Start with a long road with slight incline and practice the technique listed above. Stay at a cadence between 80-90. Strive for as little upper body and arm motion as possible and stay in the saddle.
Hills
Pedaling in ovals can greatly improve your climbing ability. Again, it’s good practice to keep your upper body as motionless as possible. At first, ride for only a minute up and recover. Then build up to several five-minute repetitions per workout. It's like weight lifting on the bike. Be careful. This drill is not suitable for anyone with bad knees, and it can lead to poor habits if done to the point of sloppiness (when you start twisting and bobbling). In other words, don't try it unless you already have a good base of fitness and your knees can handle it.
One-Legged Drills & Fixie
Among the best ways to achieve more fluidity in your pedal stroke are one-legged drills and riding a fixed-gear bike. One-legged pedaling forces you to pedal all the way through the stroke and develop your muscles accordingly. Whether you do this outside or inside on a trainer, try to make it a regular component of your off-season training. Start with 20 revolutions per side and increase to several minutes at a time. Repeat two to five times per ride for each leg.
The idea is to eliminate dead spots in your pedal stroke by practicing the technique in this article. At the top of the stroke, think about driving your toes and knees forward. The bottom of your stroke should mimic the motion of scraping mud off the bottom of your shoe. Remember to keep your toes relaxed at all times. Resist curling them up or clinching the sole of your shoe.
Get a Fixie
A fixie behaves like the tricycle; if the bike is moving, the pedals are moving, too. There's no coasting. Because you are stuck in one gear and must constantly pedal, you are forced to smooth out your pedal stroke. It’s best to stay on long flat terrain.
Mountain Biking
Studies have shown mountain bikers have the best pedal stroke. Why? Steep, slippery climbs demand very smooth, even torque all the way around forcing riders to concentrate on delicately balanced pedaling. That makes mountain biking excellent practice for developing a naturally efficient technique. The other factor here is mountain bikers strengthen their legs in conjunction with improving their technique.
Tony Troccoli is a USA Triathlon, Slowtwitch Power Cycling, F.I.S.T. Certified, and Total Immersion Certified coach. Tony is founder and owner of Coach-Tony.com Training Plans and Bike Fitting. www.coach-tony.com


